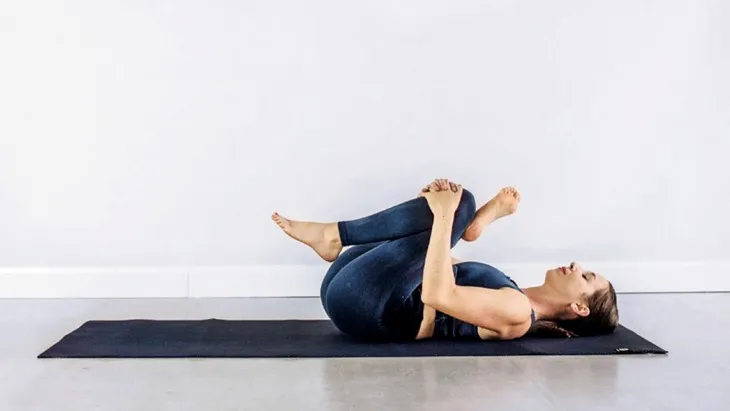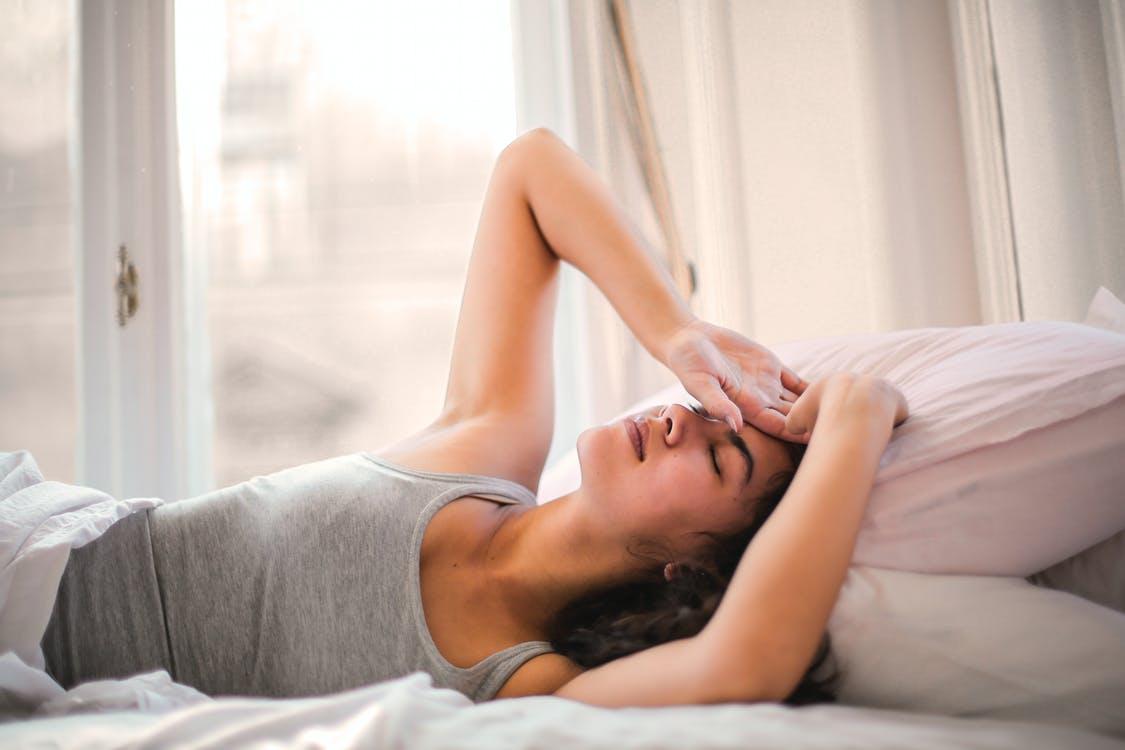
How to Create a Restorative Home Yoga Practice on a Budget
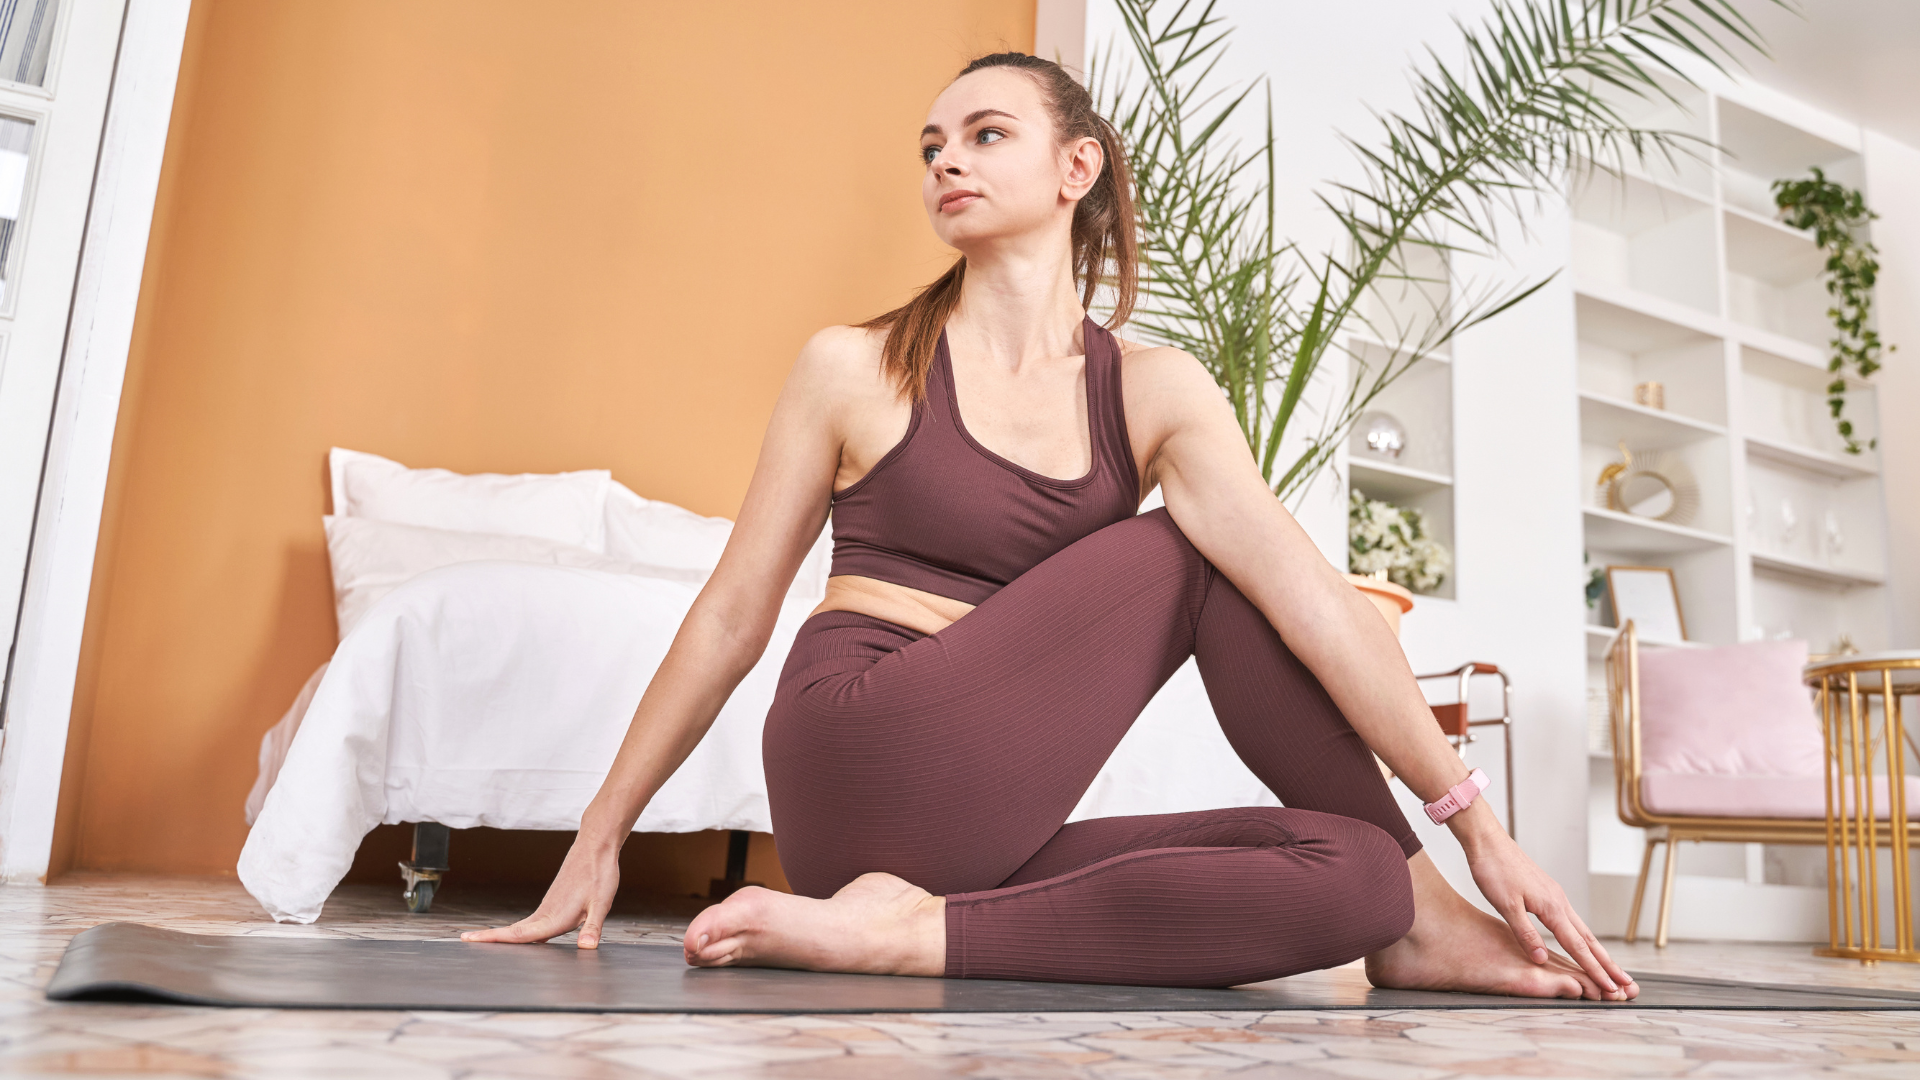
In a fast-paced world filled with constant digital noise and everyday stressors, finding a sanctuary for relaxation is no longer a luxury. It is a necessity. Restorative yoga offers a gentle, therapeutic approach to wellness that focuses on down-regulating the nervous system, releasing deep muscle tension, and cultivating mental clarity. While commercial yoga studios offer beautiful spaces, the cumulative cost of monthly memberships, specialized gear, and commuting can quickly strain your finances.
Creating a dedicated, deeply soothing restorative yoga practice at home does not require a massive financial investment. By understanding the core principles of restorative yoga and utilizing resourceful alternatives for traditional props, you can build a personal sanctuary that rivals any high-end studio. This comprehensive guide will walk you through setting up a budget-friendly space, repurposing household items into high-quality props, sequencing your practice, and maintaining consistency without breaking the bank.
Understanding the Essence of Restorative Yoga
Before gathering gear or clear-cutting a corner of your living room, it is essential to understand what makes restorative yoga unique. Unlike active styles of yoga such as Vinyasa or Ashtanga, which focus on muscular engagement, strength, and flexibility, restorative yoga emphasizes complete passivity.
The goal is to hold poses for extended periods, typically anywhere from five to twenty minutes, fully supported by props. This support allows your muscles to relax completely, shifting your autonomic nervous system from the sympathetic fight-or-flight mode into the parasympathetic rest-and-digest mode.
Because the body is completely supported, you do not need expensive, high-grip performance mats or specialized activewear. The focus is entirely on comfort, warmth, and stillness. This makes it the most accessible and budget-friendly style of yoga to practice at home.
Designing Your Low-Cost Sacred Space
The environment in which you practice significantly influences your ability to relax. You do not need a spare room or a professional home studio to experience the benefits of restorative yoga. A small, quiet corner is more than enough.
Declutter and Clear the Floor
Visual clutter translates to mental clutter. Choose a spot in your home that can be easily cleared of toys, paperwork, or stray electronics. Even a temporary space in a hallway or between your bed and the wall can work beautifully. The key is to ensure the immediate area is clean and free of distractions during your practice time.
Optimize the Lighting
Bright overhead lighting stimulates the brain and keeps you alert. To encourage relaxation, practice by the natural light of dusk, or dim your indoor lights. If your room lacks dimmers, turn off the overhead lights entirely and use a small bedside lamp placed in a corner, or light a few affordable unscented candles.
Control the Temperature
Because your body temperature drops when you remain still for long periods, keeping your space warm is crucial. Close any drafty windows and keep a couple of extra blankets nearby. You cannot relax if your body is shivering or tense from the cold.
Transforming Household Items into Yoga Props
Traditional yoga props can be surprisingly expensive. A single professional bolster can cost upwards of fifty dollars, and when you add blocks, straps, and eye pillows, the total can easily exceed one hundred and fifty dollars. Fortunately, your home is already filled with perfect substitutes that cost absolutely nothing.
The Bolster Alternative
A bolster is a firm, heavy pillow used to support the torso, knees, or hips. You can easily replicate a professional bolster by taking two or three large bed pillows and stacking them inside a single pillowcase for a firmer feel. Alternatively, tightly roll two large bath towels or a heavy winter blanket into a firm cylinder shape and secure the ends with sturdy rubber bands or hair ties.
The Block Alternative
Yoga blocks bring the floor closer to you and support your joints in various postures. Instead of buying foam or cork blocks, look through your bookshelves for thick, sturdy hardcover books. Dictionaries, encyclopedias, or large textbooks work perfectly. To protect your hands and prevent the books from sliding, wrap them in a small hand towel or slide them into clean, thick socks.
The Strap Alternative
Straps help extend your reach and secure your limbs in place without muscular effort. You do not need a specialized cotton yoga strap. A sturdy bathrobe tie, a leather or canvas clothing belt, a long necktie, or even a rolled-up bath towel will provide the exact same stability and reach.
The Weighted Eye Pillow Alternative
Eye pillows apply gentle pressure to the eyelids, which stimulates the vagus nerve and triggers a deep relaxation response. You can make your own by filling a clean, clean tube sock or a small pouch with uncooked rice or dried beans. If you want a soothing scent, mix in a few drops of lavender essential oil or dried chamomile tea leaves before tying the end securely.
Crafting a Gentle Budget-Friendly Sequence
With your space set up and your DIY props ready, you can begin your practice. Here is a simple, forty-five-minute restorative sequence designed to deeply calm the mind and body. Hold each pose for seven to ten minutes.
Supported Childs Pose
Place your DIY bolster or a stack of pillows lengthwise on the floor. Kneel with your knees wide apart and your big toes touching, framing the bottom of the bolster. Lower your torso down onto the pillows, turning your head to one side. Let your arms rest loosely on the floor alongside the bolster. Halfway through the time, gently turn your head to the opposite side to ensure an even stretch in the neck.
Supported Elevated Legs-up-the-Wall
This pose is highly effective for relieving fatigue in the legs and lower back. Scoot your hips as close to an empty wall as comfortable. Swing your legs up the wall so your body forms an L-shape. Place a folded blanket under your hips for cushioning and a small, rolled towel under your neck for support. Let your arms rest out to the sides, palms facing up, and place your DIY eye pillow over your eyes.
Supported Bound Angle Pose
Sit on the floor and bring the soles of your feet together, allowing your knees to fall open to the sides. Place your DIY blocks or thick books under the outer thighs or knees to prevent any strain in the groin. Place your stack of pillows directly behind your lower back and gently lie back so your spine and head are fully supported. Rest your hands on your belly or out to the sides.
Basic Relaxation Pose with Knee Support
Lie flat on your back. Slide your rolled blanket or towel bolster underneath your knees. This slight bend in the knees instantly releases pressure in the lumbar spine, allowing the lower back to soften completely into the floor. Cover yourself with a warm blanket, place the eye pillow over your eyes, and let your feet splay open naturally.
Establishing Consistency Without Spending a Dime
The true benefits of restorative yoga accumulate through regular practice, not expensive gear. To maintain a consistent routine without spending money, try the following strategies.
-
Utilize Free Resources: Avoid expensive paid apps or online subscriptions. Platforms like YouTube offer thousands of high-quality, free restorative yoga classes led by certified instructors.
-
Schedule It Like an Appointment: Treat your practice time as a non-negotiable appointment. Dedicate just twenty minutes every Sunday evening or Tuesday night to step away from screens and rest.
-
Track Your Progress Simply: Use a standard wall calendar or a simple notebook to cross off the days you practice. Seeing a visual chain of consistency is incredibly motivating.
Frequently Asked Questions
How long should I stay in a restorative yoga pose to feel the benefits?
To fully trigger the parasympathetic nervous system, you should aim to hold each pose for at least five to ten minutes. Advanced practitioners often hold poses for fifteen to twenty minutes. The key is to remain completely still and supported so the body can deeply surrender.
Can I do restorative yoga in my bed instead of on the floor?
Yes, practicing in bed is an excellent option, especially if you have mobility issues or find the hard floor uncomfortable. The mattress provides a naturally cushioned surface, and you can easily use your existing pillows and blankets for support. This is particularly beneficial right before sleep.
Is restorative yoga the same as Yin yoga?
No, they are different practices. While both involve long holds, Yin yoga focuses on stretching the deep connective tissues and fascia by applying gentle stress to the joints. Restorative yoga focuses on complete physical support and relaxation, aiming for zero muscular engagement or intense stretching.
What should I wear during a home restorative yoga session?
Comfort and warmth are the main priorities. Choose loose-fitting, soft clothing like sweatpants, a cozy sweatshirt, and thick socks. Avoid clothing with tight waistbands, zippers, or buttons that could press uncomfortably into your skin during long holds.
How often should I practice restorative yoga at home?
You can practice restorative yoga every day if you choose, as it puts no physical strain on the body. However, practicing two to three times a week for twenty to thirty minutes is a sustainable goal that will yield noticeable improvements in your stress levels and sleep quality.
What should I do if my mind wanders or I feel restless during a pose?
It is completely normal for the mind to wander. When you notice your thoughts drifting to your to-do list, gently guide your focus back to the sensation of your breath entering and leaving your body. You can also count your inhalations and exhalations silently to give your mind a simple, calming task.